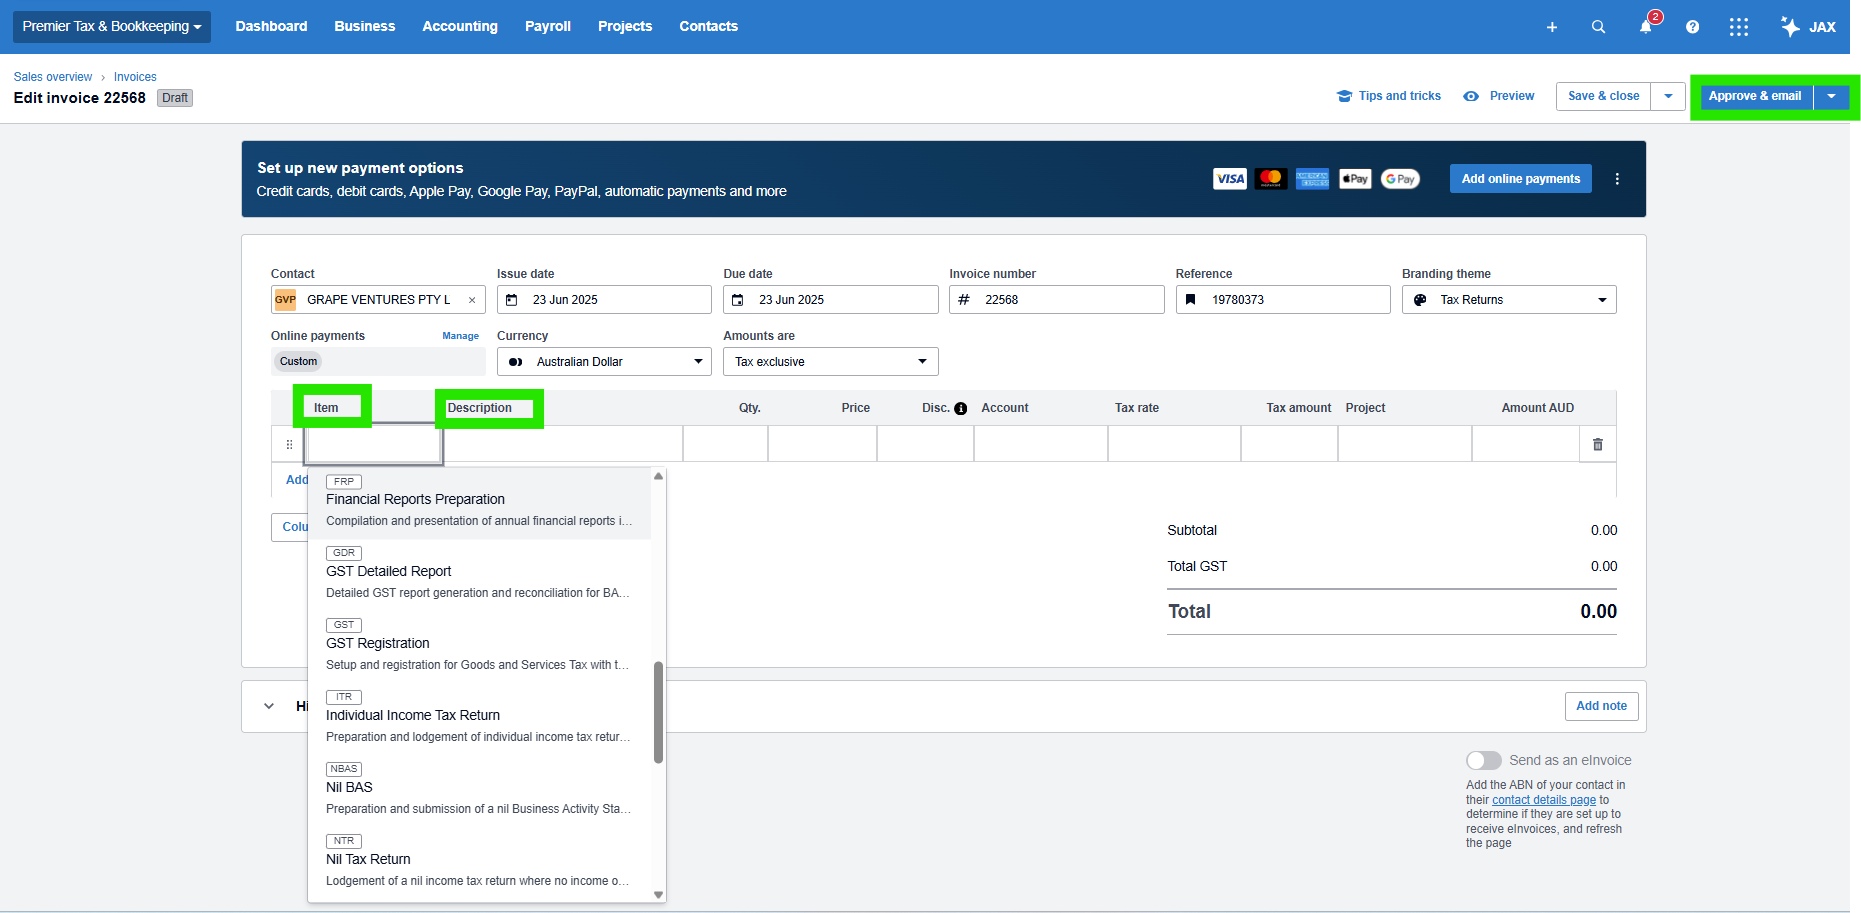
Client Invoicing Policy – Premier Tax & Bookkeeping

Once you have completed preparing an Income Tax Return, Business Activity Statement (BAS) or other services, you must create and issue an invoice via Xero. The invoice must then be emailed to the client for payment.

1. Creating a Client Invoice

To create an invoice:

  1. Click on the client’s name in XPM,
  2. Click on the “New” button
  3. Select “Xero Invoice” ( Do not select “Invoice” – it must be “Xero Invoice” )
  4. Complete the invoice fields accordingly
2. Separate Invoices for Each Service

Each individual service must have a separate invoice.

Example:
If you prepare two years of income tax returns for one individual, you must issue two separate invoices, one per year.
This will enable us to calculate your payment accurately

3. Correct Item Coding
  • Use the appropriate item code in the ‘Item’ section of the Xero invoice to match the type of service provided.
  • This ensures accurate service categorisation and reporting in XPM.
Item CodeItem Name
ITRIndividual Income Tax Return
BASBusiness Activity Statement
CTRCompany Income Tax Return
TRTTrust Income Tax Return
PTRPartnership Income Tax Return
NTRNil Tax Return
NBASNil BAS
CRSCompany Registration Setup
CDRCompany Deregistration
TRITTrust Registration (Individual Trustee)
TRCTTrust Registration (Corporate Trustee)
PRSPartnership Registration Setup
SMSFSMSF Income Tax Return
Item CodeItem Name
SBRSole Trader Business Registration
BNRBusiness Name Registration
GSTGST Registration
PAYGPAYG Registration
DESDepreciation Schedule
FRPFinancial Reports Preparation
APPATO Payment Plan
ABKAccounting & Bookkeeping
ACLAccountant Letter
CGCCGT Clearance Certificate
GDRGST Detailed Report
LASICLodgements to ASIC
4. Update Period Information

In the ‘Description’ field of the invoice, ensure that you enter the correct tax or BAS period:

  • For income tax returns:
    Example: “Income Tax Return – FY2025”
  • For BAS lodgements:
    Example: “BAS – March 2025 Quarter”
5. Approving Invoice

Once the invoice has been filled out, click “Approve” (as shown in the screenshot)

6. Emailing the Invoice to Clients

To email the invoice:

  1. Click the three dots (•••) next to “Add Online Payments”
  2. Select “Email”
  3. Choose the correct email template based on the service provided

Available Email Templates:

TemplateUse for:
Tax ReturnsIndividual or business tax return services
BASAll BAS lodgement services
Business RegistrationsCompany setups, ABN, TFN, GST, PAYG registrations
GeneralAny other services not covered in the above categories

Ensure you always select the correct template before sending. This ensures clients receive clear and accurate information.